From Files to Playbook
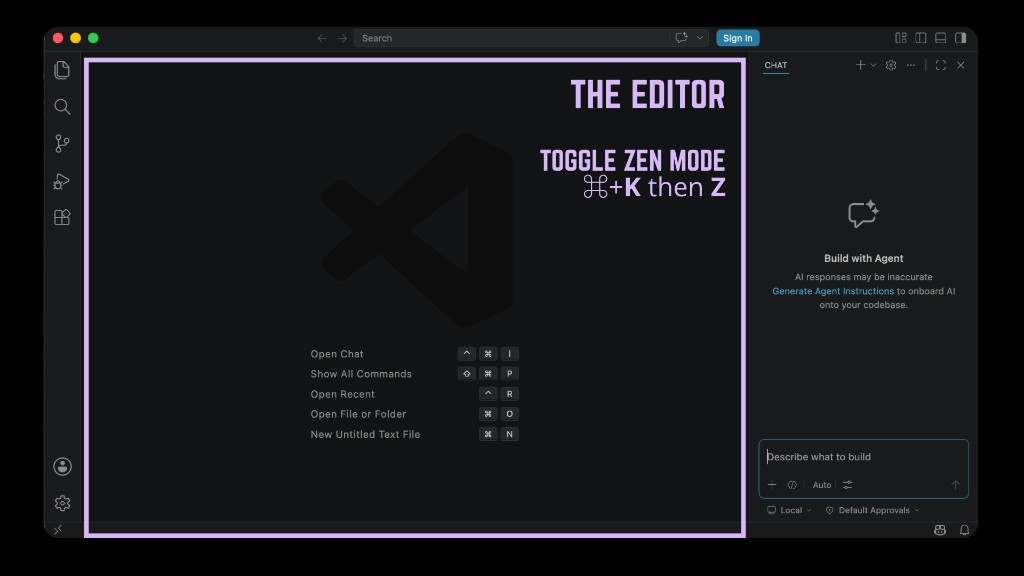
Clone the IDE workbench starter repo, point your editor’s AI at your templates with @mentions, set rules and AGENTS.md, and sync with GitHub Desktop.
Video version: Put Your IDE Workbench on GitHub (~10–12 min — GitHub Desktop, clone ide-workbench-starter, open in your IDE, commit and push)
Open on YouTube if the embed does not load in your reader.
Use your IDE as a workbench: real files on disk, AI that reads them, and a copy on GitHub so the folder travels with you. This post assumes you have cloned the starter repository below and opened it in Visual Studio Code (or another editor that can chat with files). Already in Google’s ecosystem? Google Antigravity is another agentic option built for that world. Brand-new to GitHub? Start with GitHub Basics: Your Profile README as a First Project first.
Start here: clone the starter repository
Repository: github.com/devandapaige/ide-workbench-starter
- Install GitHub Desktop and sign in.
- File → Clone repository → paste
https://github.com/devandapaige/ide-workbench-starter - On GitHub, click Fork if you want your own copy to push to (recommended). Clone your fork's URL.
- Open the cloned folder in your IDE (File → Open Folder…, or open from GitHub Desktop if your editor is wired up that way).
Everything below assumes that folder is open in your IDE. Content is fictional sample data (see the repo README). Replace with your rhythms and templates; use a private repository when you store real client material.
| File in the repo | What you will practice in this post |
|---|---|
templates/event-confirmation-template.md | @mentions and Apply |
my-rhythms.md | Cadence context for prompts |
.cursor/rules/my-workflow.mdc | Example standing instructions (one tool’s format) |
AGENTS.md | Project boundaries |
automation-playbook.md | Five-question playbook (edit examples) |
Part 1: @mentions, the template, Apply, and ls
If you have not cloned the repo yet, do that first (section above).
The @mention
Type @ in your IDE’s Chat panel (VS Code with Copilot Chat, or an agentic IDE’s equivalent). A file picker appears. Select a file and its contents join the conversation.
Instead of "Help me write an event confirmation email", try:
@templates/event-confirmation-template.md— fill this for a workshop called "Spring Office Hours" on June 12 at 2pm Eastern. Keep the structure; add one sentence on what attendees should bring.
The AI works from your template in the repo, not generic training data.
Use the template in the repo
The starter repo already includes templates/event-confirmation-template.md. Open it in the sidebar to see the structure. You can edit placeholders directly or use Chat + @mention to generate a filled-in version.
Apply — you stay the editor
When Chat returns a draft, Apply (or your tool’s accept/diff flow) opens a comparison: your file on one side, the proposal on the other. Accept what you want. Reject what you do not. Nothing changes until you say so.
Stay in Chat mode while you are learning. Agent mode can act across files without stopping at each step—useful later, after rules and AGENTS.md are familiar.
Your first terminal command
Open the terminal: Control + backtick. Type:
ls
Your files list. That is navigation, not coding. Optional next: pwd (where am I?) and cd templates (into a subfolder); cd .. goes up one level.
Part 2: Rules, AGENTS.md, and the automation playbook
Rules file (already in the repo)
Open .cursor/rules/my-workflow.mdc. Read the bullets—they describe tone, naming, and when to check my-rhythms.md. This is one example of standing instructions in a format some agentic IDEs read; the ideas transfer even if your tool stores rules differently.
Add one line of your own if you like (for example how you sign emails). Save.
Open a new Chat session and ask:
What do you know about how I work?
That response is how you verify the tool loaded the rules (or that you still need to point it at AGENTS.md).
AGENTS.md
Open AGENTS.md at the repo root. It describes what the folder is and what agents should not do. Replace the learning-example language and sample name with yours.
Rules files = tool-specific standing instructions. AGENTS.md = whole-project declaration any AI tool can read.
Automation playbook
Open automation-playbook.md. The file lists five questions with fictional examples. Replace them with your real automations, backup plans, and client journey in plain language.
Add or refresh last updated: YYYY-MM-DD at the top of each context file. A monthly reminder to re-read these files keeps them honest.
Part 3: Save your edits on GitHub
After Parts 1–2 you have likely changed several files in your IDE.
- Open GitHub Desktop with your cloned (forked) repository selected.
- Changed files appear in the list. Review the diff.
- Write a short Summary in plain English (for example
update rhythms and playbook examples). - Click Commit to main, then Push origin.
- Confirm on github.com in your repository's file view.
That is the habit: edit in the IDE, commit and push when you are ready.
New to GitHub?
Read GitHub Basics: Your Profile README as a First Project for plain-language diagrams (repository, commit, push), how to fork the starter repo into your own copy, when to use a private repository, and a small first project: the README on your GitHub profile.
This post assumes you can clone and push; the basics post is the place to learn that vocabulary first.
What is in the starter folder
| File | Role |
|---|---|
my-rhythms.md | Communication cadence |
templates/ | Reusable Markdown pieces |
.cursor/rules/my-workflow.mdc | Example standing instructions (one tool’s format) |
AGENTS.md | Project map for any AI tool |
automation-playbook.md | Automations, backups, client journey |
Structured files on disk are something any human, AI, or script can read—your workbench, backed up on GitHub.
Quick reference
| Action | How |
|---|---|
| Clone the workbench | ide-workbench-starter — fork, then clone your fork |
| @mention in Chat | @ + filename |
| Accept AI edits | Apply → review diff → Accept |
| List files | Terminal: ls |
| Example rules file | .cursor/rules/my-workflow.mdc |
| Project declaration | AGENTS.md at root |
| Verify rules loaded | New Chat: "What do you know about how I work?" |
| Commit and push | GitHub Desktop: Summary → Commit to main → Push origin |
Your IDE Is a Workbench · GitHub Basics (profile README) · Starter repository